The problem is that sometimes we run out of local disk space and are forced to save downloaded files on another drive. While you can download files in a particular location manually in Windows 11, why not change the default save location? If you want to save your downloaded files in a different location, you need to change the default save location in Windows 11. It’s pretty easy to change the default save location in Windows 11 as it has a dedicated page, allowing you to change the location where new content is saved. Also Read: How to View WiFi Password in Windows 11
Steps to Change the Default Save & Download Folder Location in Windows 11
So, if you are looking for ways to change the default save location in Windows 11, you are reading the right guide. Below, we have shared a step-by-step guide on how to change where apps, documents, music, pictures, videos, and maps are saved by default.
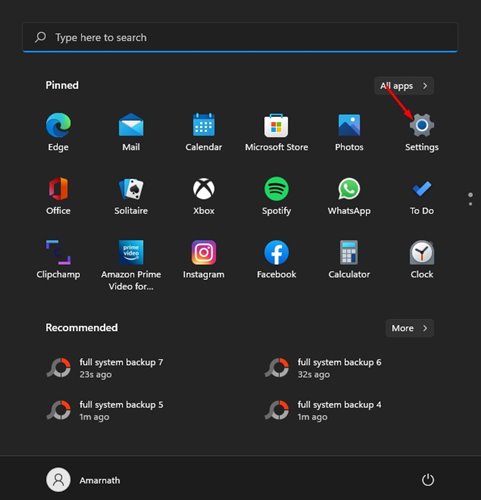
First of all, click on the Windows Start button and select Settings.
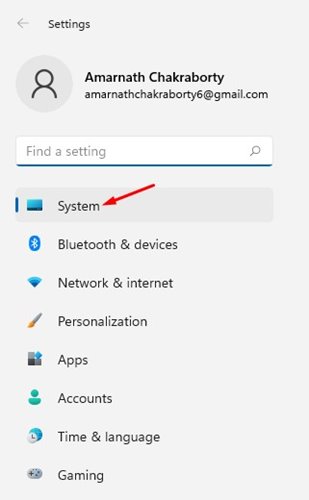
On the Settings page, click on the System option as shown below.
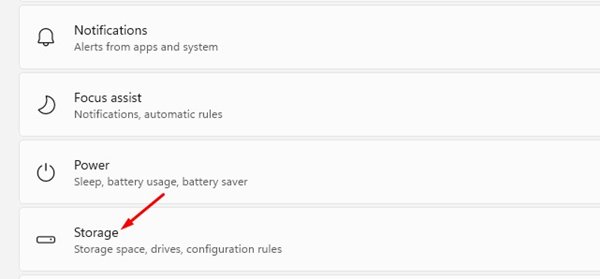
On the right pane, click on the Storage option.
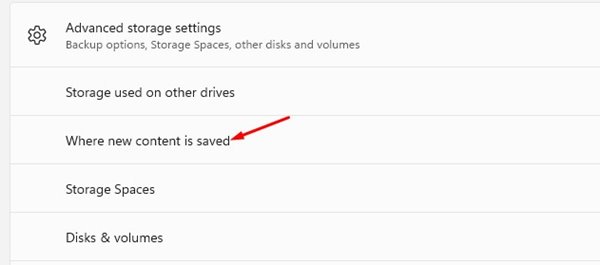
On the Storage page, click on the Advanced storage settings option.
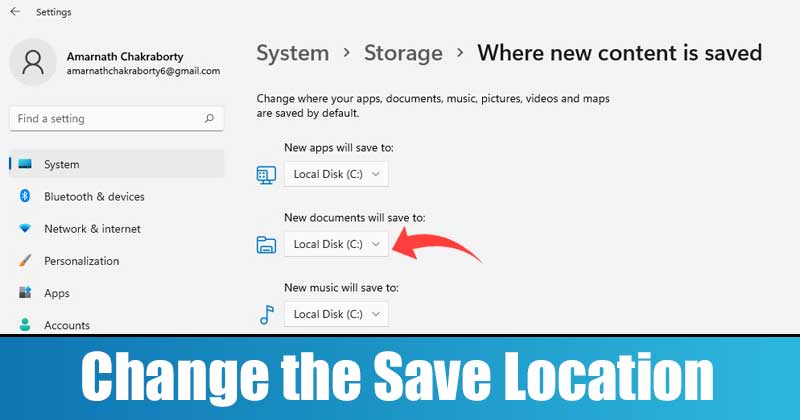
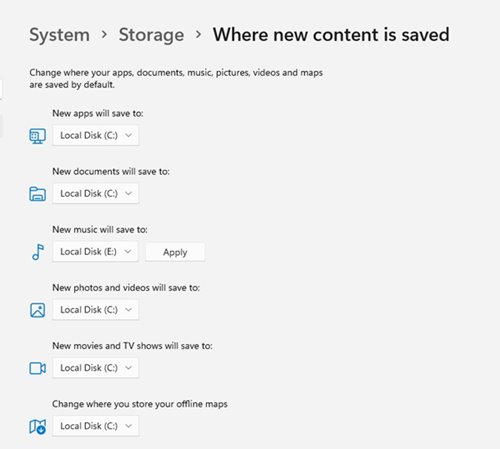
On the Where new content is saved page; change the default save directories for various items.
You can change the default save location for Apps, Documents, Music, Photos & Videos, Maps, and many other file types.
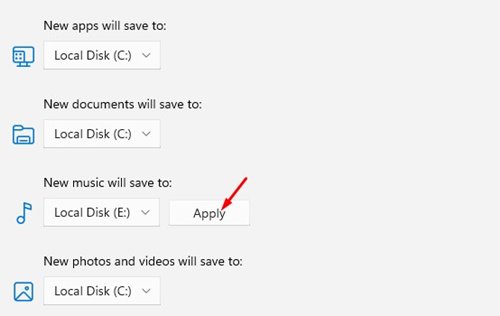
After selecting a new drive, click on the Apply button.
That’s it! You are done. This will change the default save location in Windows 11. For example, if you have selected an E: Drive for Music file, the downloaded music will be saved on E:\Users<username>\ Music.
How to Change Default Download Folder Location
Like the default save location, you can change the default Downloads folder location. To do that, you need to follow some of the simple steps shared below.
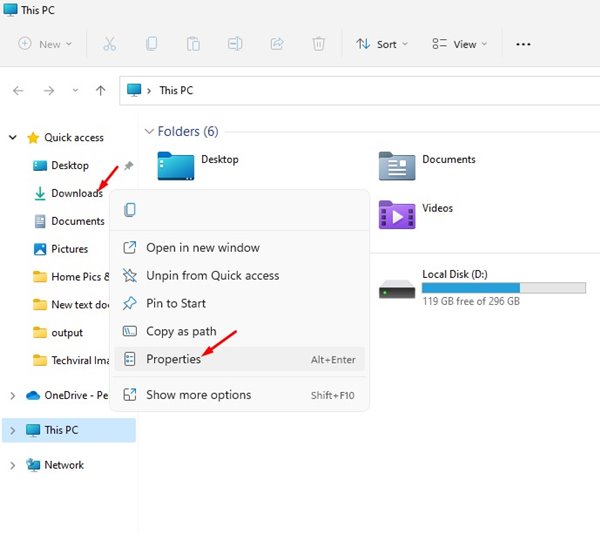
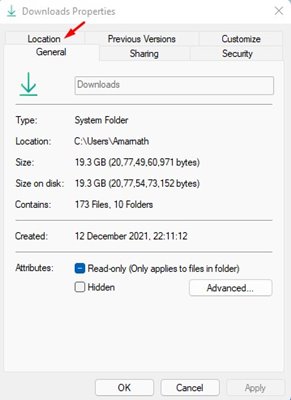
First of all, open file explorer and right-click on the Downloads folder. On the Context menu, click on the Properties.
On the Downloads Properties, click on the Location tab as shown below.
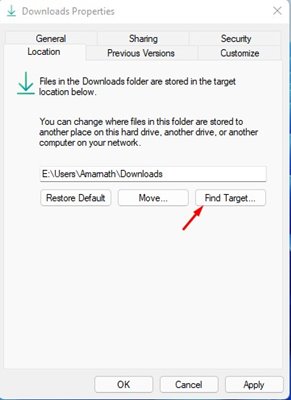
Now, you need to change the path of the Download Folder. You can type the path or click on the Find Target button to browse the new location manually.
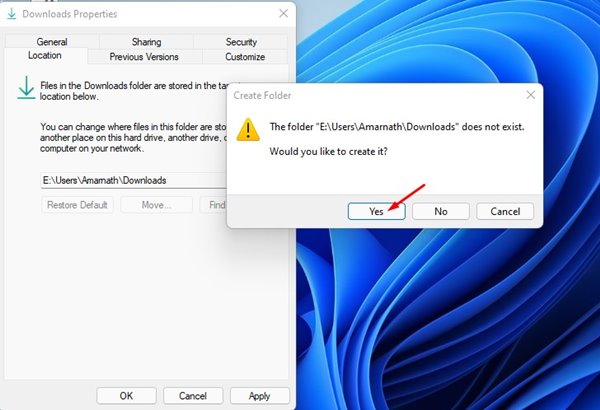
After making the changes, click on the Apply button. You will see a confirmation prompt; click on the ‘Yes‘ button to confirm the changes.
This is how you can change the downloads folder location in Windows 11. Changing the default save location & downloads folder location is pretty easy on Windows 11. I hope this article helped you! Please share it with your friends also. If you have any doubts related to this, let us know in the comment box below.
Δ