So, XPS (XML Paper Specification) files are Microsoft’s competitor to Adobe’s PDF files. Although the XPS file format is not as popular as PDF, it’s still used today. Since XPS never came out as a successful file format, Microsoft has decided to abandon it and has removed the default XPS file viewer from Windows 10 in the April 2018 update. Also read: How to Change Wallpaper in Windows 11 Without Activation
Best Methods to Open XPS Files in Windows 10
However, if you still deal with XPS format or have a file saved in XPS format, you can revive the default XPS file viewer of Windows 10. Hence, this article will share a step-by-step guide on viewing XPS files and documents on Windows 10 computers. Let’s check out.
1) Enable the XPS Viewer
In this method, we will revive the old XPS file viewer of Windows 10. Follow some simple steps below to enable XPS viewer on Windows 10.
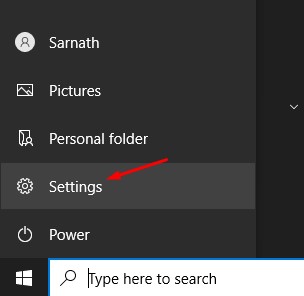
First, click on the Start button and select Settings.
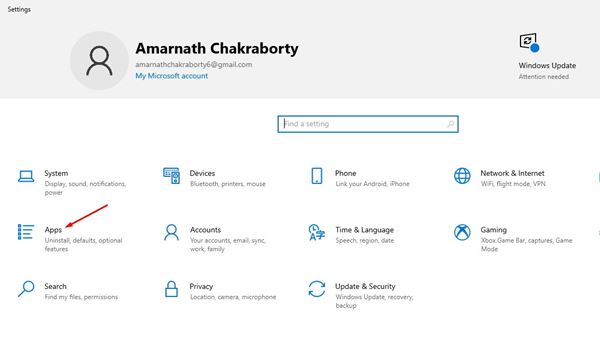
On the Settings page, click on the Apps option.
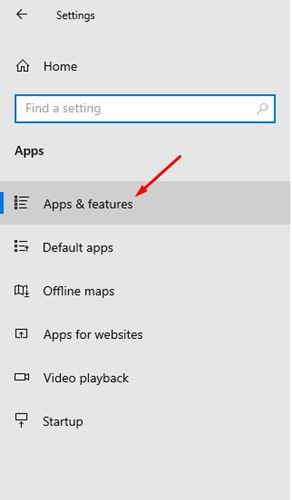
Click on the Apps & Features option on the left pane.
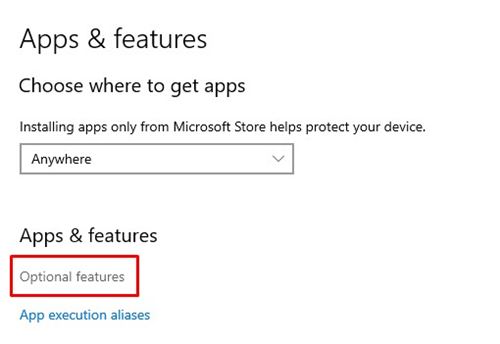
Now, click on the Optional Features on the right pane.
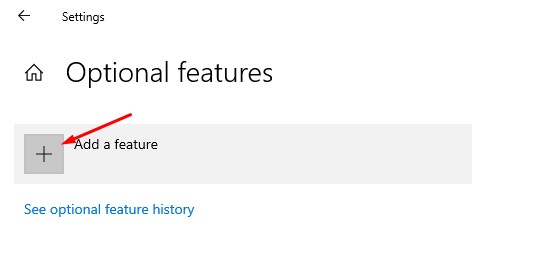
Click the (+) button behind the Add a feature option.
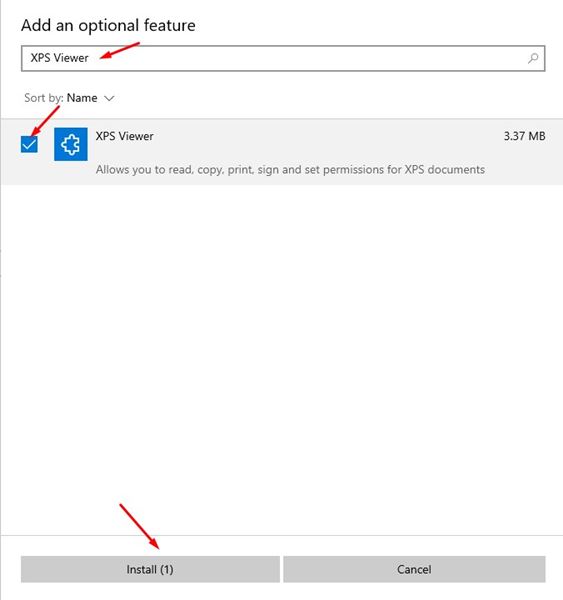
On the Add, a feature screen, type in XPS Viewer.
Select the XPS viewer from the list and click on the Install button.
That’s it! You are done. XPS Viewer will be installed on your PC. You can now directly open XPS documents on your Windows 10.
2) Install XPS Viewer from RUN Command
You need to implement this method if you cannot access Windows 10’s settings page. Here we will use the RUN Dialog box on Windows 10 to install the XPS viewer application.
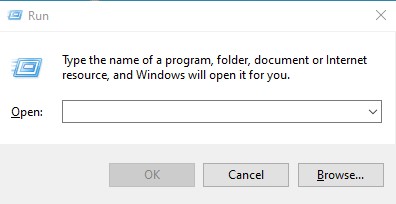
First of all, open Windows search and type in Run. Open the Run dialog box from the list.
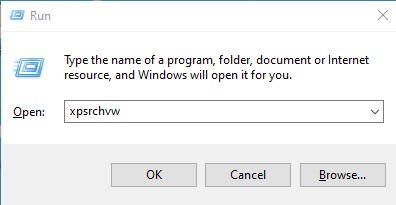
On the Run dialog box, type in xpsrchvw and enter.
That’s it! You are done. The above command will activate the XPS viewer of your Windows 10 PC. You can now directly open the XPS files on your system.
3) Convert XPS files to PDF format
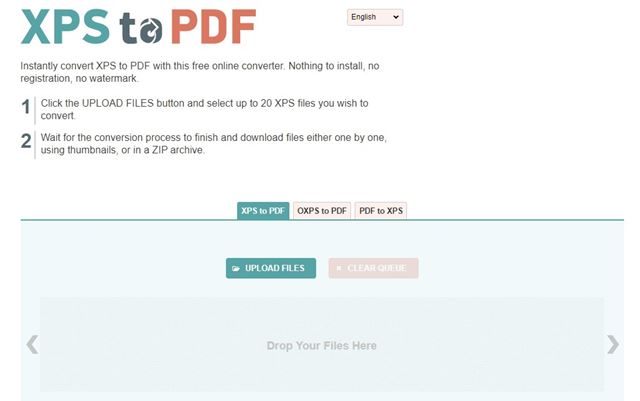
Another best method to open an XPS file on an unsupported operating system is by converting it into PDF format. If you have Adobe Reader installed on your PC, you can convert the XPS files into PDF format to open via Adobe Reader. You can use online PDF converter websites to convert XPS files into PDF format. Search for Convert XPS into PDF on Google, and you will find several websites. You can use any website to convert your XPS files and documents into PDF format. Once converted, you can use Adobe Reader or any PDF viewer app to view the converted files. Also Read: How to Update Drivers on Windows 11 So, this guide is all about viewing XPS files in Windows 10. I hope this article helped you! Please share it with your friends also. If you have any doubts about this, let us know in the comment box below.
Δ

